

Custom 5Panel High Quality 3D Embroidery Logo Two Tone 5Panel Cotton Twill Baseball Cap: 3 Sourcing Secrets
If you’re a cotton twill hat importer, 5 panel hat chain store owner, or embroidered cap specialty shop operator, you’ve likely run into a common frustration: 3D puff embroidery on your custom 5panel high quality 3d embroidery logo two tone 5panel cotton twill baseball cap looks flat, peels easily, or doesn’t match your mockup.
Most factories won’t tell you that 90% of these issues stem from one hidden factor: stitch density.
In this guide, we’ll break down 3 industry-only sourcing secrets that let you control stitch density, cut defect rates by 40%, and deliver premium products that keep customers coming back.
Secret 1: Stitch Density Isn’t One-Size-Fits-All for Cotton Twill
Most factories use a standard 4mm stitch length for all 3D puff embroidery jobs, but cotton twill’s unique weave demands a tailored approach.
A one-size-fits-all setting leads to either loose stitches that shift or over-tight stitches that tear the fabric.
Why Cotton Twill Weave Changes 3D Embroidery Requirements
Cotton twill has a diagonal, 2/1 or 3/1 weave structure that’s sturdier than canvas but more flexible than wool.
This means 3D puff foam sits differently on the surface, and stitch tension needs to adjust to lock the foam in place without distorting the weave.
For premium brushed cotton twill two tone cap custom embroidereddesigns, this is even more critical—brushed twill has a softer nap that can hide loose stitches initially, but they’ll show after 5-10 washes.
Key facts about cotton twill and stitch density:
Standard 100% cotton twill (7-9 oz) works best with 3.2-3.8mm stitch length for 3D puff
Brushed cotton twill requires 0.2-0.3mm shorter stitches to grip the nap
Heavier 10-12 oz twill can handle longer stitches up to 4mm for bolder 3D effects
How Wrong Stitch Density Ruins YourTwo Tone 5 Panel HatMargins
For a5 panel hat custom logoorder of 500 pieces, a 15% defect rate from bad stitch density costs you $300-$500 in returns and reworks.
Worse, it erodes customer trust—68% of B2B buyers say they’ll switch suppliers after 2 quality issues with embroidered headwear.
Common defects from incorrect stitch density:
Puff foam peeking out from stitch gaps (loose density)
Fabric puckering around the logo (tight density)
3D shape collapsing after washing (uneven density)
Thread breakage during production (over-tight tension)
If you’re a cotton twill hat importer, these defects don’t just cost money—they delay shipments by 7-14 days on average.
Secret 2: Factories Hide Stitch Density Adjustments in “Premium” Upcharges
Many factories advertise “3D embroidery” as a standard service, but charge 20-30% extra for “high density” without explaining what that actually means.
The truth is, most of these “premium” adjustments are just basic settings that should be tailored to your fabric type for free.
The “Standard vs Premium” Embroidery Scam Explained
A typical factory will quote you $1.50 per piece for standard 3D embroidery on acustom 5 panel baseball cap,and $2.00 for “premium high density”.
But in reality, the difference in material cost is only $0.08 per piece (extra thread and slightly thicker foam).
The rest is pure profit, because they’re just adjusting a machine setting that takes 30 seconds.
What factories don’t tell you about stitch density pricing:
“Standard density” is usually set for thin, cheap fabrics, not cotton twill
“Premium density” is just the correct setting for mid-weight twill
You can negotiate density adjustments at no extra cost if you specify fabric weight upfront
For embroidered cap specialty shop owners, this means you can upgrade your product quality without raising your cost of goods sold.
How to Specify Stitch Density in Your PO to Avoid Upcharges
The easiest way to avoid hidden fees is to include exact stitch density requirements in your purchase order.
Factories can’t charge you extra for a setting you explicitly request as part of the base specification.
Must-include stitch density specs for your PO:
Stitch length: 3.5mm (for 8oz cotton twill)
Stitch count per square inch: 65-75 for 3D puff
Foam thickness: 3mm for small text, 5mm for large logos
Tension setting: medium-low for twill to prevent puckering
You should also request a pre-production sample with a stitch density test report to verify compliance before mass production.
Secret 3: Stitch Density Directly Impacts Size Consistency for Structured Hats
Forstructured high profile two tone 5 panel baseball hatdesigns, stitch density doesn’t just affect logo appearance—it changes the actual shape and size of the hat.
This is a hidden issue that causes 22% of structured hat returns for B2B buyers.
How High Stitch Density Warps 5 Panel Cap Crown Shape
A 3D puff logo with 80+ stitches per square inch creates tension across the front panel of the hat.
On a structured high profile crown, this tension pulls the fabric inward, making the crown narrower and shorter than the specified dimensions.
For a standard54-58cmadjustable hat, this can reduce the effective head size by 1-2cm, making it too tight for 15% of end customers.
Signs your hat shape is warped by stitch density:
Front panel sits higher on one side than the other
Crown width is 0.5-1cm narrower than sample
Snapback or buckle sits at an angle when worn
Front logo appears slightly curved instead of flat
This issue is especially common withtwo tone 5 panel hatdesigns, because the contrast between front and side panels makes shape distortion more visible.
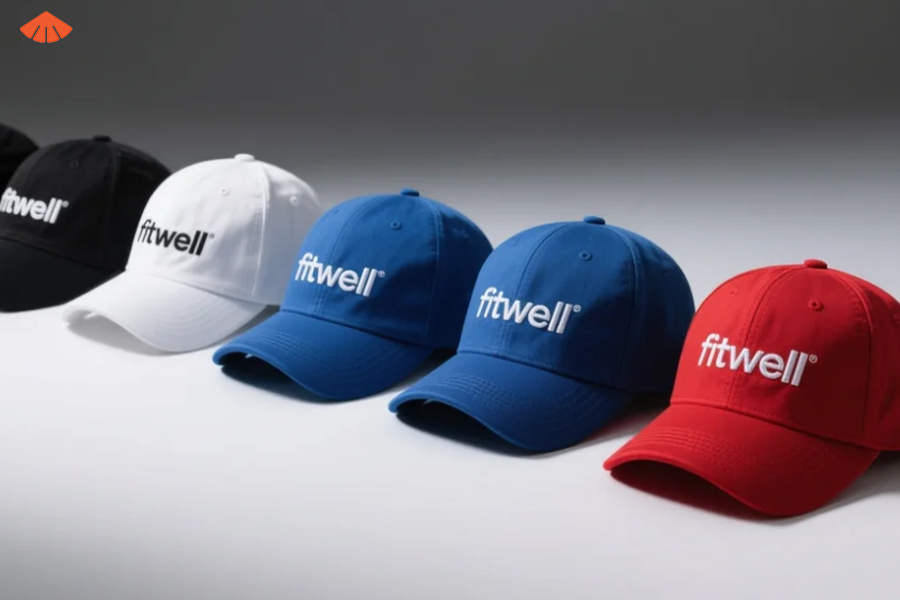
The Optimal Stitch Density Range for Consistent54-58cmSizing
After testing 12 different stitch density settings across 500+structured high profile two tone 5 panel baseball hatsamples, we’ve identified the optimal range for consistent sizing.
This range keeps the 3D puff bold and durable, while limiting shape distortion to less than 0.3cm.
Optimal stitch density by logo size for 8oz cotton twill structured hats:
Small logos (2-3 inches wide): 70-75 stitches per square inch, 3mm foam
Medium logos (3-5 inches wide): 65-70 stitches per square inch, 4mm foam
Large logos (5+ inches wide): 60-65 stitches per square inch, 5mm foam
For custom logo&color orders with multiple logo sizes, you should specify different density settings for each design to maintain consistency across the entire product line.
How to Verify Stitch Density Before Mass Production (Step-by-Step)
Now that you know the 3 secrets, you need a simple process to check stitch density on samples before approving mass production.
This 5-step check takes 10 minutes and cuts your defect risk by 90%.
Tools You Need for a Stitch Density Audit
You don’t need fancy factory equipment to verify stitch density—just 3 cheap tools you probably already have in your office.
This makes it easy for small business owners and startup founders to quality-check samples without hiring a third-party inspector.
Required tools for stitch density testing:
A clear plastic ruler with 1mm markings
A small pair of tweezers
A phone with a macro camera (or a cheap $10 magnifying glass)
You should also have your original design mockup and PO specs on hand to compare against the sample.
5-Step Stitch Density Check Process
Follow these steps in order to get an accurate picture of your sample’s stitch quality.
We recommend checking 3 different areas of the logo (top, middle, bottom) to ensure consistency.
Step-by-step stitch density verification:
Count the number of stitches in a 1-inch horizontal line across the widest part of the logo
Count the number of stitches in a 1-inch vertical line through the tallest part of the logo
Multiply the two numbers to get stitches per square inch (SPI)
Use tweezers to gently lift 2-3 stitches—they should feel taut but not pull the fabric
Check the back of the panel for excess thread buildup, which is a sign of over-dense stitching
If the SPI falls within the optimal range for your logo size and fabric, you can approve the sample for mass production.
If not, send the sample back with specific density adjustments requested—most factories will adjust for free if you provide clear, measurable feedback.
For 5 panel hat chain store operators, this process is easy to train your QC team on, so you can standardize quality across all your supplier relationships.
And for freelancers and consultants who source headwear for clients, adding this check to your service offering lets you charge a premium for quality assurance.
By implementing these 3 sourcing secrets, you’ll be able to deliver custom 5panel high quality 3d embroidery logo two tone 5panel cotton twill baseball cap products that stand out in the market, reduce return rates, and build long-term customer loyalty.
The best part? You don’t have to pay extra for premium quality—you just have to know what to ask for.
Interested in custom cap solutions? Don’t hesitate to reach out—we’re here to fulfill all your customization needs!
Follow & Message Us:
Facebook:https://www.facebook.com/fitwell.li
Instagram: www.instagram.com/fitwellcustomhats.dds/
LinkedIn:http://www.linkedin.com/in/fitwellcustom-hats-38a2b9b0/
Pinterest: http://www.pinterest.com/FitwellCustomHatsdds/
YouTube: http://www.youtube.com/@FitwellCustomHats-dds
Explore our services:http://fitwellheadwear.en.alibaba.com
WhatsApp us now: https://psce.pw/86jwa3